
Why curved plastics need extra prep before fitment
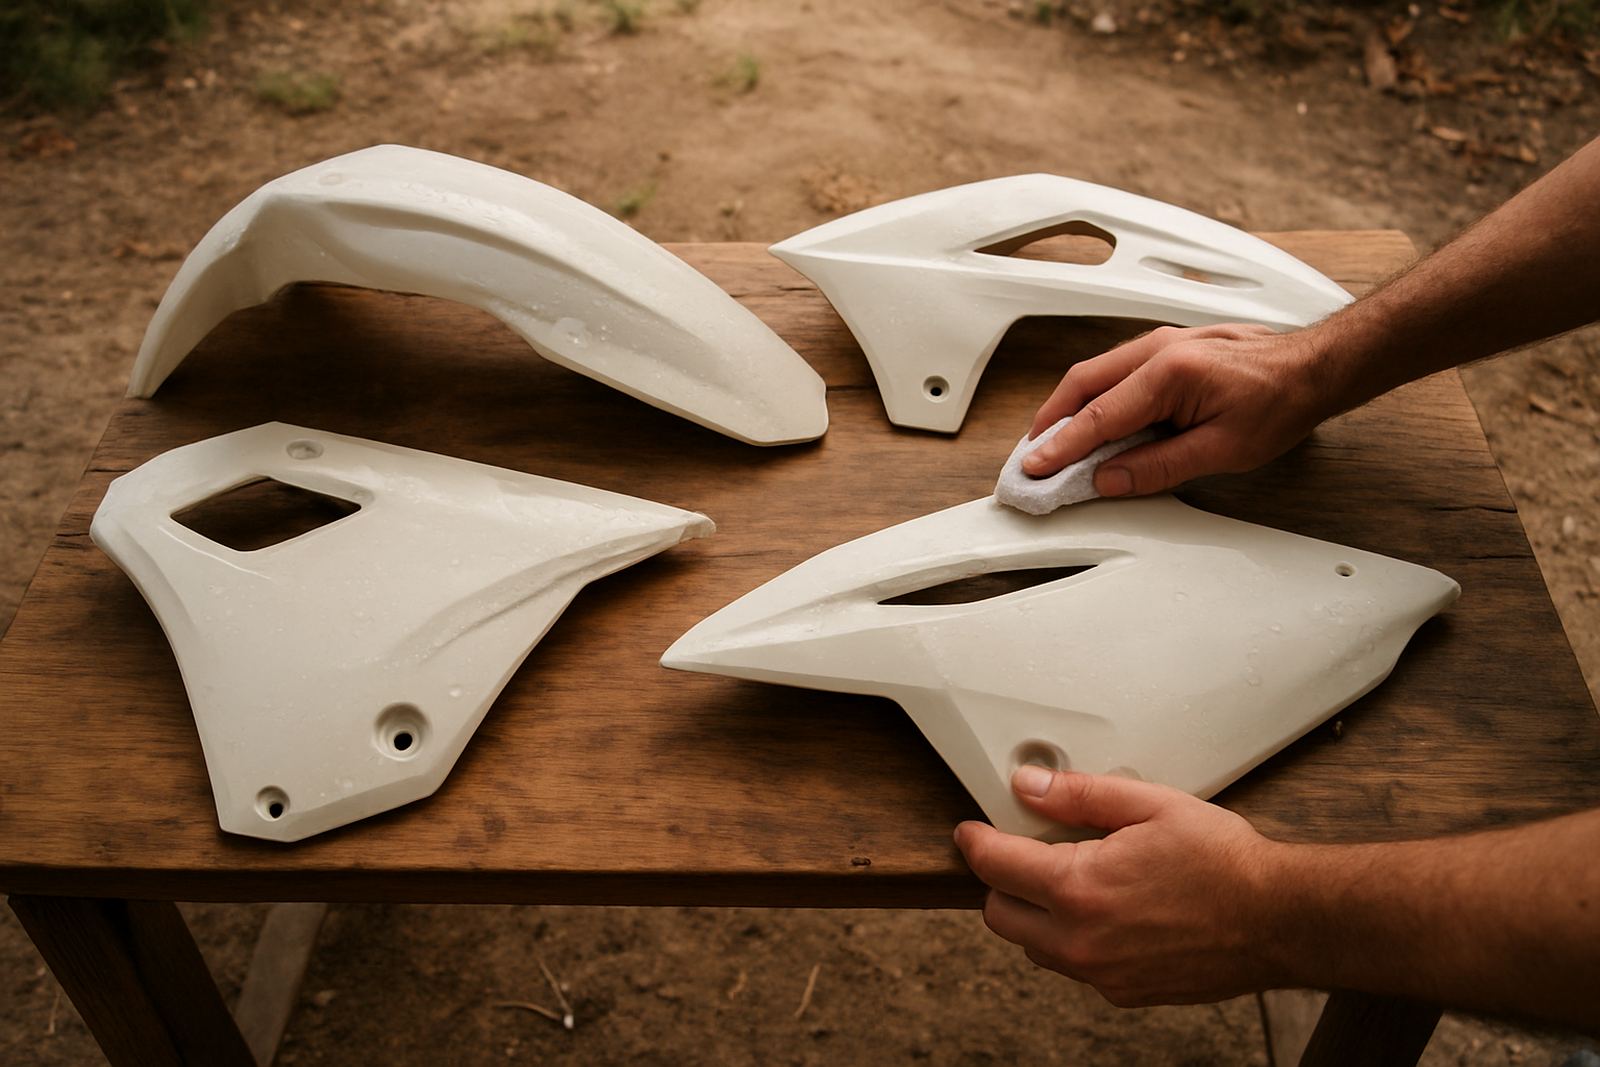
Motorbike body panels are not flat sheets. Most are moulded plastic with compound curves, narrow recesses and edges that pick up dust, chain lube and road grime. If a decal is fitted on top of that build-up, it may look fine for a day or two then start lifting at the corners, especially in summer heat or after a wash. In the Boland, bikes also sit in strong sun, wind and dust, so the prep stage matters just as much as the print itself.
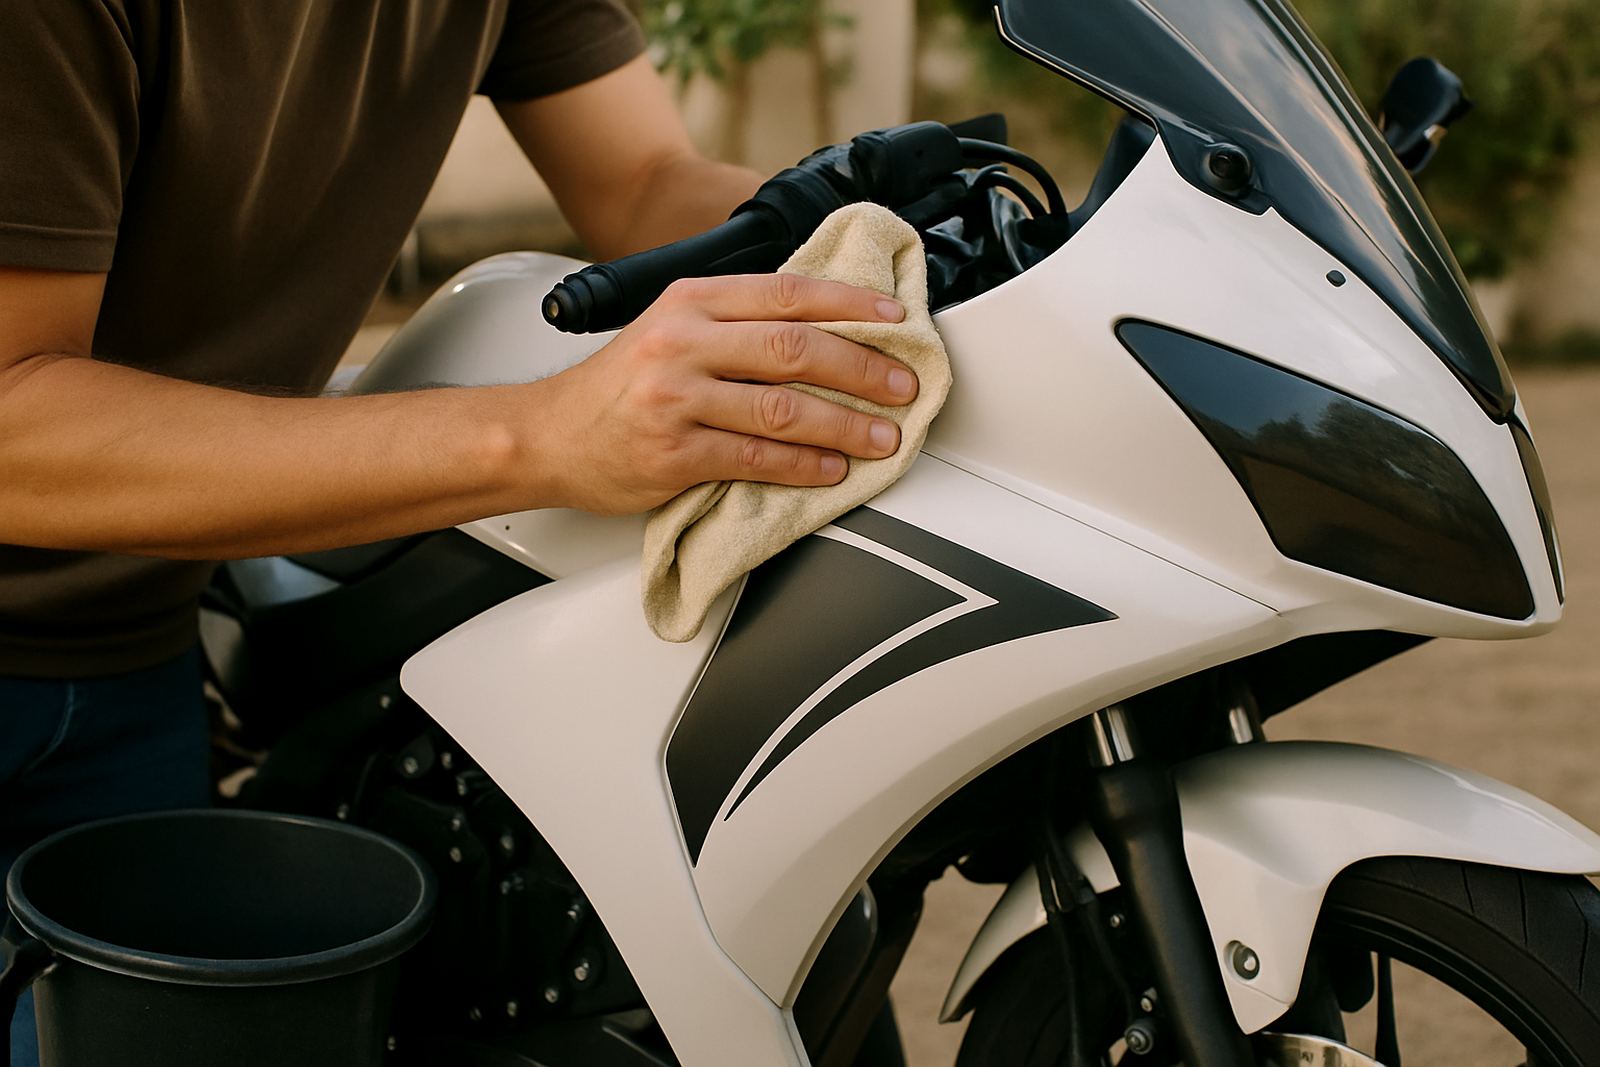
Before any decal goes on, the plastic should be dry, clean and free of polish. Silicone dressings are a common problem because they leave a slippery film that stops adhesive from biting properly. If the bike has been recently washed, let it stand long enough for moisture to leave seams and screw holes. Around Paarl and Wellington we see a lot of bikes that come in with wash residue tucked behind fairings and under mirror mounts, and that hidden moisture can cause trouble later.
- Wash the panel with mild soap and clean water first
- Remove wax, polish and road film with a safe cleaner
- Dry the panel fully, including edges and screw recesses
- Check for cracks, stone chips or loose fasteners before fitment
How to prepare the bike panels for cleaner adhesion
The best fitment starts with a surface that is even and controlled. If the panel is dusty, wipe it down first, then clean it again with a lint-free cloth. Do not use household sprays that leave residue. A proper surface wipe and a clean dry cloth is usually enough for most plastics, provided the panel is not covered in old adhesive or tar spots.
On newer bikes, try to leave the plastics fitted to the bike during application where possible. Loose panels can flex too much and make alignment difficult. If a panel has already been removed, make sure it is re-fitted square before the decal is placed. A panel that sits slightly out can cause the graphic to wrinkle near a bolt hole or curve.
It also helps to plan where the decal will land before the backing comes off. Measure from fixed points such as panel edges, fairing vents or fuel cap lines. This is especially useful on matching pairs, like left and right side graphics. A few millimetres off may not sound like much, but on a small bike panel it can be very obvious once the machine is on the road.
- Use fixed body points to mark alignment
- Test the position with masking tape before final fitment
- Check both sides for symmetry if the design is mirrored
- Avoid fitting over loose trims or damaged clips
Applying decals on curves without stretching them too far
Curves are where a lot of applications go wrong. The decal must be persuaded into shape, not forced. If too much pressure is used in one go, the film can stretch and then pull back slightly after a day in the sun. That is when you see lifted lines, silvering or a design that no longer matches the panel shape.
For shallow curves, a soft squeegee and steady pressure usually do the job. For deeper shapes, work from the centre outward in small sections. If the panel is tight around the front cowl or tank shroud, it may be better to split the graphic into smaller parts rather than trying to wrap one large piece over every bend. On some bikes the best result is a fitted set of pieces that follow the panel lines, instead of one oversized sticker trying to do too much.
Heat can help, but it must be used carefully. Warm film is more flexible, though too much heat can thin the adhesive or distort a printed area. In coastal humidity near places like Wellington or Simondium, a steady fitment pace is better than rushing because the air is damp. Patience gives a cleaner result and usually less rework.
Fitment tips that help decals last through road use
Once the decal is on, the job is not quite finished. The edges need time to settle before heavy washing or high-pressure spray. Motorbikes also face constant vibration, especially on long rides between towns like Paarl, Stellenbosch and Worcester. If the edge has not been pressed down properly, that vibration can work it loose over time.
After fitment, leave the bike indoors or under cover if possible for the first 24 hours. If the weather is cold, give it longer. Avoid washing the bike straight after decal application and do not aim a pressure hose directly at fresh edges. On many jobs the first failure comes not from the decal itself but from a high-pressure lance used too close to the panel.
- Let adhesive settle before the first wash
- Keep the bike out of heavy rain for the first day if possible
- Do not pick at edges while the adhesive is still curing
- Use gentle hand washing around fresh graphics
Common mistakes on motorbike graphics and how to avoid them
One of the biggest mistakes is fitting over a surface that still has polish or Armour-type shine products on it. Another is rushing the alignment and ending up with a decal that sits too high on one side. It is also common to ignore the shape of the panel and then blame the vinyl when the problem is really the surface prep.
Small scratches and stone marks are not always a problem, but deep gouges can show through on lighter graphics. If the bike has been resprayed, check that the paint has fully cured before applying anything. Fresh paint can release solvents under the film and cause bubbling. That is a mistake that often shows up a few days later, not immediately.
For riders in the Boland, it is worth considering how the bike is used. A commuter bike doing daily runs in Paarl traffic needs different handling from a weekend bike that spends more time in a garage. If the machine sees a lot of road dirt or gravel, it is smart to keep the design clear of areas that are likely to get knocked by boots, luggage or petrol spills.
A Paarl example from a rider who wanted a cleaner finish
A local rider from Paarl brought in a bike that had side panels already fitted with old stickers and a few lifted edges. The main issue was not the new design, it was the leftover glue and the dull film left by repeated washing. The panels were cleaned properly, the alignment was marked from the fairing lines and the new decals were fitted in smaller sections so they followed the curves without pulling tight.
The result was a neater finish that matched both sides and held better through daily use. That kind of job is typical of what we see across the Boland. Riders want graphics that look right on the bike, not just on the work table. When the prep is done properly, the decal sits flatter, the edges stay down and the bike looks cared for rather than patched up.
If you are planning bike decals for a single machine or a small fleet of delivery bikes, the same principle applies. Clean panel, careful alignment and controlled fitment always save time later. It may take a bit longer at the start, but it avoids peeling corners and rework after the first month.