Start with where the banner will be used
Before you ask for a price, work out exactly where the banner will go. A shopfront banner needs to read from the pavement. A roadside banner must be legible to drivers passing at speed. An event banner may only need to last a weekend, while a site banner can face sun, wind and dust for months.
In the Boland, placement matters because weather changes quickly. Strong afternoon wind in Paarl, summer heat in Worcester and coastal moisture drifting inland can all affect how a banner hangs and how long it stays tidy. If the banner is going on a fence, wall, scaffold, trailer or gate, say so. That changes the size, the fixing points and the best finish.
- Measure the full available space, not just the visible opening.
- Check for poles, wires, trees or gates that may block the view.
- Note whether the banner must be viewed close up or from the road.
- Decide if it must be temporary, seasonal or long term.
Choose the right size for the viewing distance
Banner size should match the distance from which people will read it. If it is too small, your message gets lost. If it is too large for the space, it can flap, crease or cover important features like windows and doors. A banner for a local special outside a shop can be fairly compact, while a forecourt, yard or building site usually needs something larger.
A simple rule is that the farther away the viewer is, the bigger the lettering must be. For vehicle traffic, keep the message short and bold. For pedestrians, you can use smaller details, but the headline still needs to do the work. If you are unsure, measure the wall or fence and bring a photo. That helps with layout and avoids guesswork later on, especially when you have limited mounting points.
- For shopfronts, use one strong headline and a short support line.
- For roadsides, keep wording brief and avoid too much fine print.
- For long walls, consider one wide banner instead of several small ones.
- Always allow a little extra space for hems and eyelets.
Know the difference between banner materials
Not all banners are the same. Some are made for short promotions and others are better suited to wind, sun and repeated use. The material should suit the job, not just the budget. A light promotional banner is fine for an indoor sale or one weekend event. A heavier banner is a better choice for outdoor use in open areas where wind can catch it.
Ask whether the banner will be hung against a wall, stretched across poles or tied to fencing. That affects how much strain it will carry. If the banner sits in a windy spot, a stronger material can help it last longer and hold its shape better. For indoor use at expos, church events or school functions, a lighter banner may be easier to transport and store. The best option is often the one that balances cost, lifespan and visibility.
- Short term promotions: lighter material and simple finishing.
- Outdoor advertising: stronger material with proper edge finishing.
- Repeated use: choose a finish that can handle folding and packing.
- Windy sites: ask about extra reinforcement or a more suitable layout.
Pick the finishing that suits the mounting point
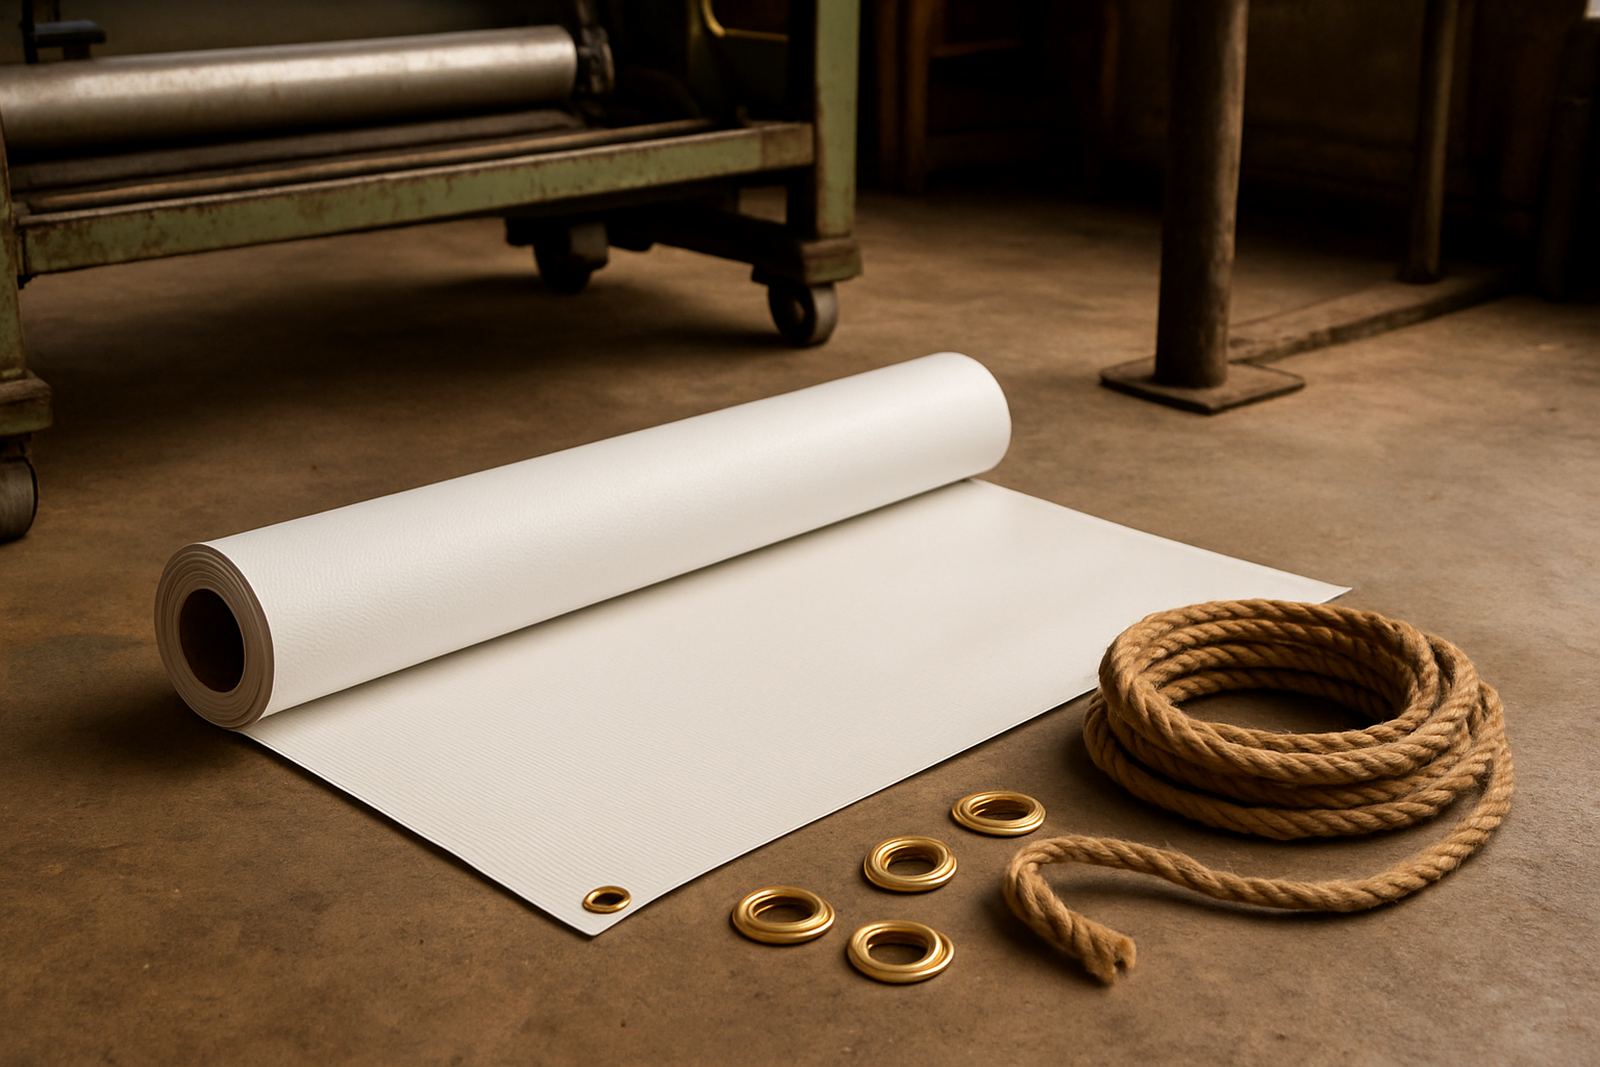
Finishing is often the difference between a banner that works well and one that gives trouble. Eyelets are useful when the banner will be tied or cable-tied to a fence or frame. Hems help strengthen the edges. Pole pockets suit banners that must slide onto poles or frames. If you do not plan the finish properly, the banner may sag, tear or sit crooked.
The mounting point should guide the finish. A wall banner on a flat surface may need eyelets all around. A banner on a rigid frame may need pockets or reinforced corners. If the banner will be installed near a road, leave enough tension so it does not whip in the wind. Poor fixing is usually what causes early failure, not the print itself. A banner that is fitted correctly is easier to keep neat and safer in bad weather.
- Eyelets: good for ropes, ties and temporary fixing.
- Hems: help strengthen edges and reduce fraying.
- Pole pockets: useful for frame mounted or suspended banners.
- Reinforced corners: help where tension is highest.
Think about artwork, wording and print clarity
A good banner is read in seconds. That means fewer words, clearer type and stronger contrast. If your message is too long, people miss the point. Use your logo, key service or special and a clear call to action. Avoid putting too much small text on a banner that will be seen from the street. It may look fine on a screen but become hard to read once printed at size.
When sending artwork, check spelling, contact details and opening times carefully. A small error on a banner can cost money to reprint. Photos should be sharp and not stretched. If you have a logo in different versions, send the best one available. If the banner is for a municipal notice, site warning or safety message, the wording must be direct and easy to understand. That keeps the sign useful and avoids confusion.
- Use strong contrast between text and background.
- Keep the main message near the top or centre.
- Do not overcrowd the layout with extra details.
- Check all names, numbers and dates before printing.
Use this pre-order checklist before you send an enquiry
Once you know the size, material and finish, you are much closer to the right order. A proper checklist saves time and helps avoid back and forth later. It also makes it easier to quote for the right option the first time. If the banner is going to be installed in Paarl, Wellington or anywhere across the Boland, mention the site conditions so the finishing can match the job.
Before you send your enquiry, gather the basics and note anything unusual about the site. That includes whether the banner must be taken down often, whether it will face rain or sun, and whether there are access limits for installation. If the banner is going on a business front, on a fence near the road or inside a venue, say so clearly. Good details at the start make the process smoother and help the final result sit properly the first time.
- Exact size in metres or millimetres.
- Where it will be used and how high it will hang.
- Indoor or outdoor, short term or long term.
- Preferred finish such as eyelets, hemmed edges or pole pockets.
- Artwork file, wording and any required dates.